The Checklist feature in Measure Mobile allows you to apply add-ons, labor, questions, or other items to your project. These checklist items can be applied to specific rooms and can have their quantity adjusted if applicable.
Video Tutorial
Checklist items appear based on what type of flooring product is added to the project as well as any assigned checklists your project template may have.
| Use the arrow, |
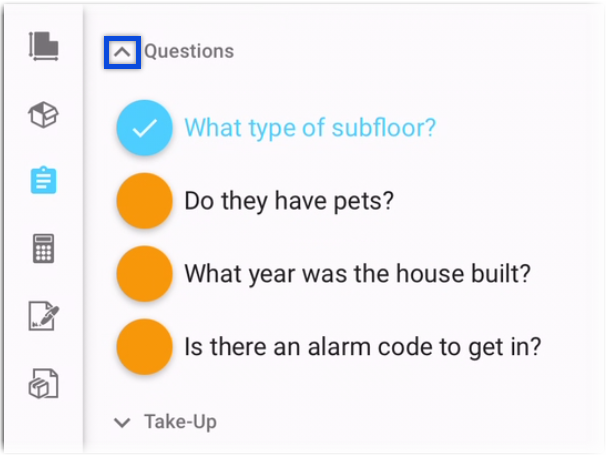 |
| Use the Filter/Search icon, |
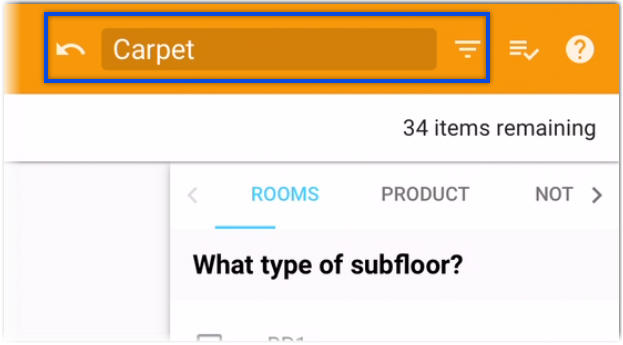 |
| Use the Checklist icon, |
 |
Tip: For information on how to create and manage checklists please see our Checklist Management article.
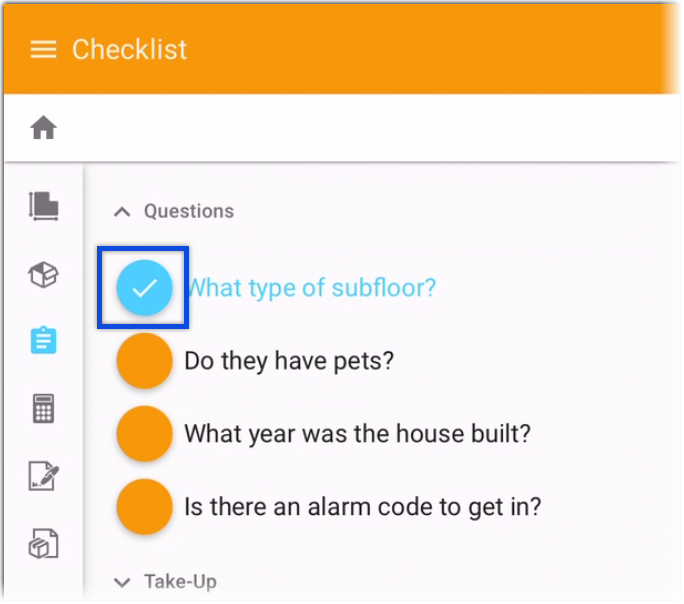
1. Tap the circle next to the item name so that it has a checkmark in it.
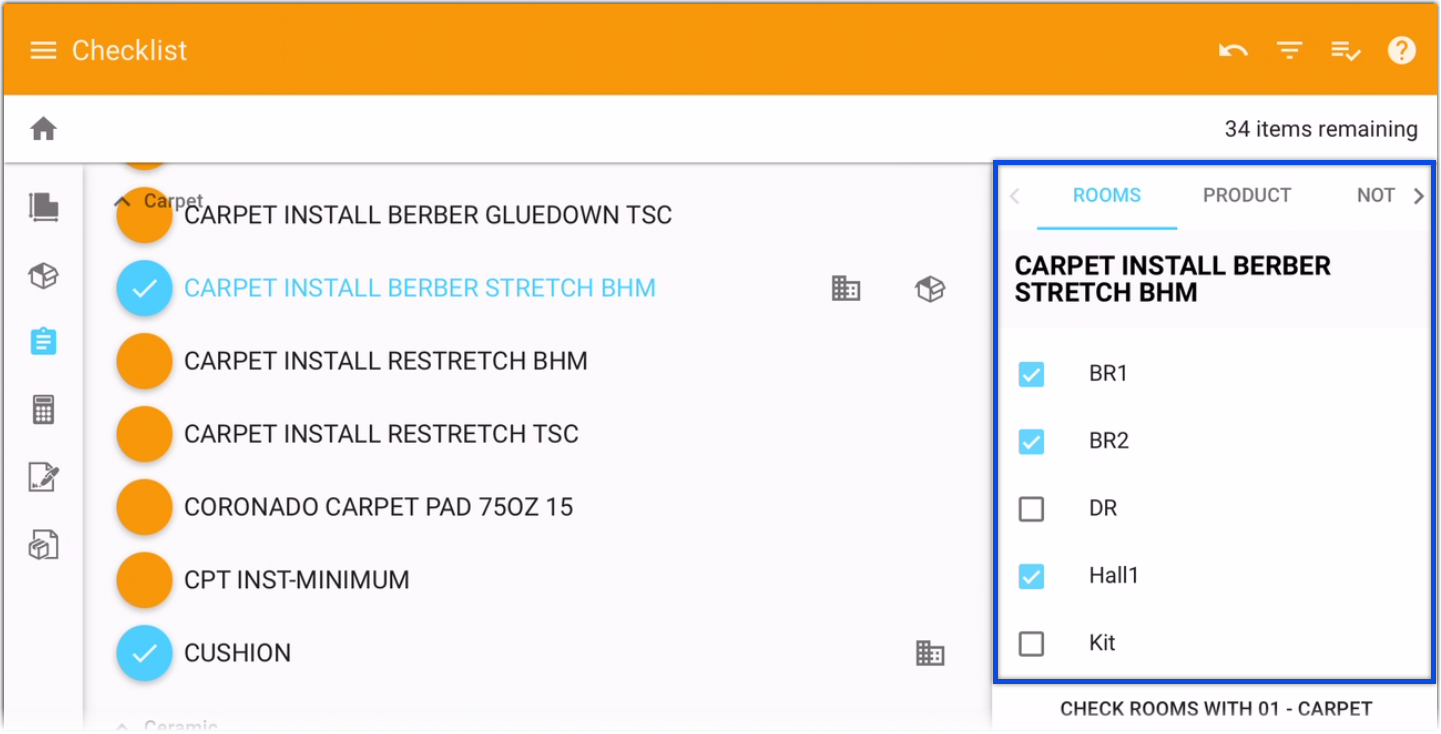
2. Room Tab: then select the rooms you want the item added to
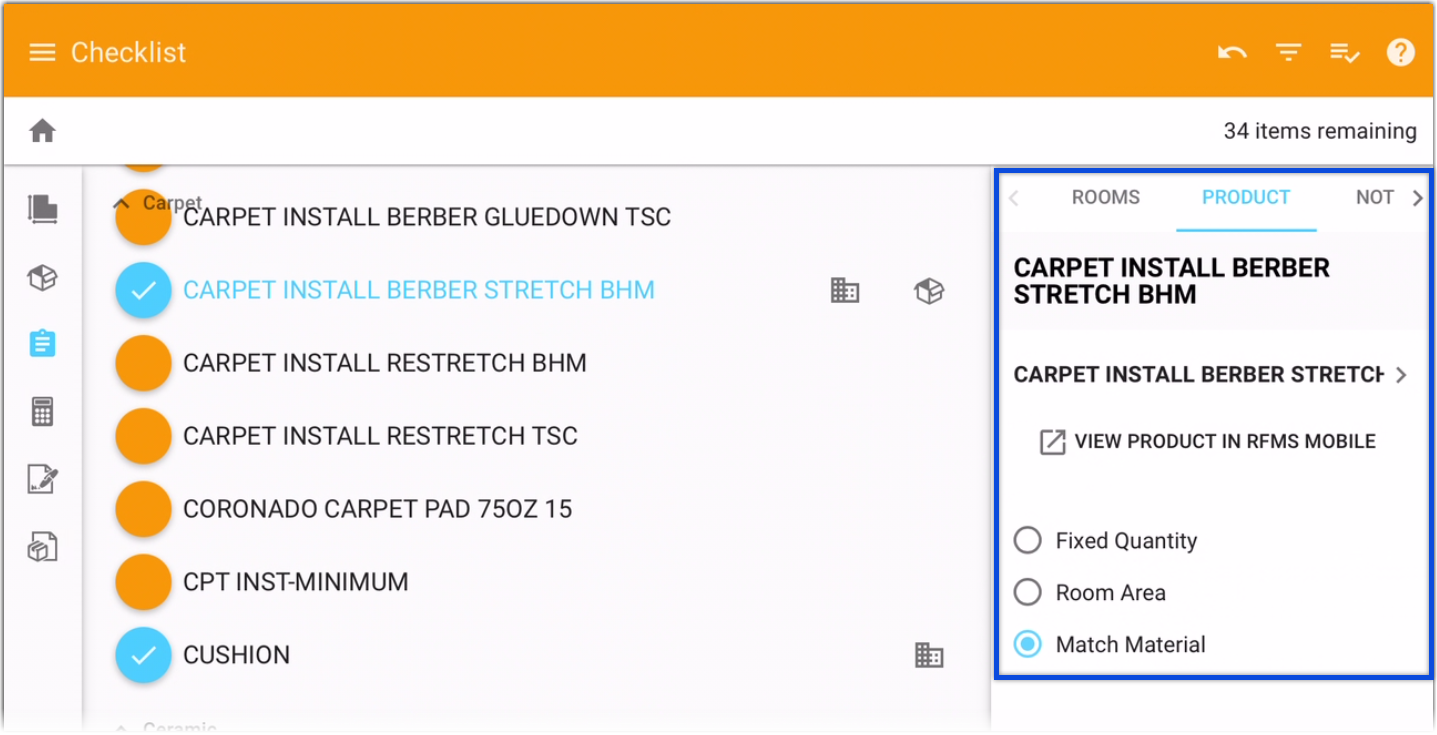
3. Product Tab: choose a different product or keep as is. If product is selected can set the proper calculation method,
4. Notes Tab: enter text, take a pic, or add a pic for this checklist item. You can also select whether note images will appear in the proposal or installation documents.
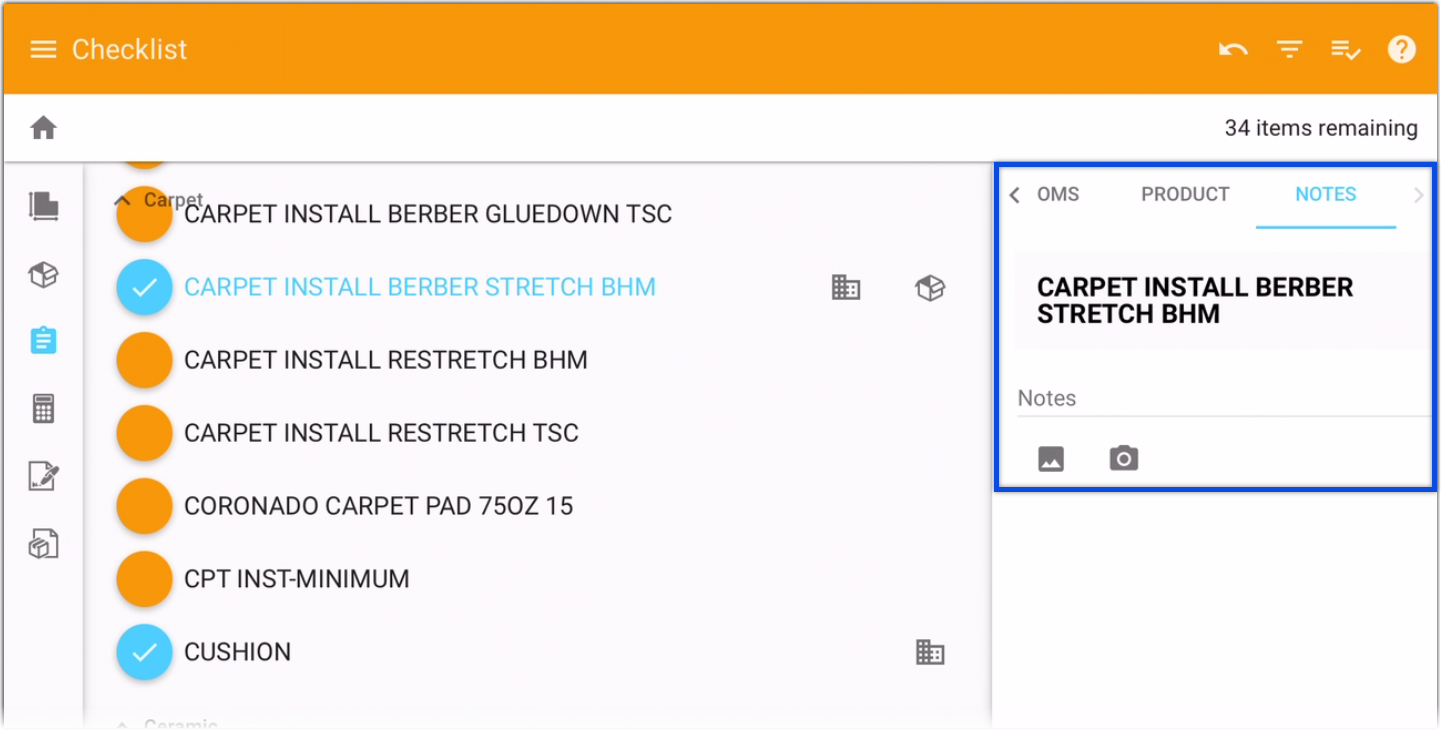
Tip: Use the notes tab to answer checklist questions.
What do the icons next to checklist items indicate?
![]()
| When this icon is next to a checklist item it means that this checklist item is associated with with one or more rooms. Tap this icon to open the Rooms Tab in the right side section of the Checklist Screen. | |
| When this icon is next to a checklist item it means that the item has a product assigned with quantity. Tap this icon to open the Products Tab in the right side section of the Checklist Screen. | |
| When this icon is next to a checklist item it means that the item has notes and/or images assigned to them. Tap this icon to open the Notes Tab in the right side section of the Checklist Screen. |
1. With the checklist item selected, tap the Notes Tab. Enter any text notes, take a photo, or attach one from your gallery. Beneath the attached image are checkboxes that toggle these notes from being included/excluded from the Proposal and Installation documents.

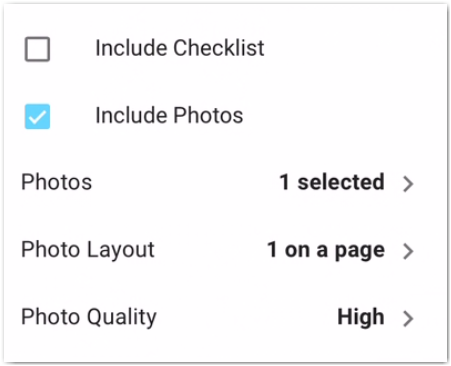
2. From the Proposal Screen or Installation Screen adjust the settings at the bottom of the right side section. These options will include/exclude checklist items and photos and you can select which photos to include. Tap the PDF button, ![]() to view these selections in the Proposal or Installation documents.
to view these selections in the Proposal or Installation documents.
Comments
Article is closed for comments.