The Free Draw tool gives more flexibility when drawing rooms in Measure Mobile and works similarly to the Polygon Tool in Measure Desktop. Using this tool, rooms can be drawn manually, with the Keypad, or using a Disto laser measuring device.
Video Tutorial
How To:
1. Tap to place the first point of the room.
2. Tap again in the direction the wall should go to place the next point. The red line indicates a segment that is currently being edited. Drag a point to manually adjust the length.

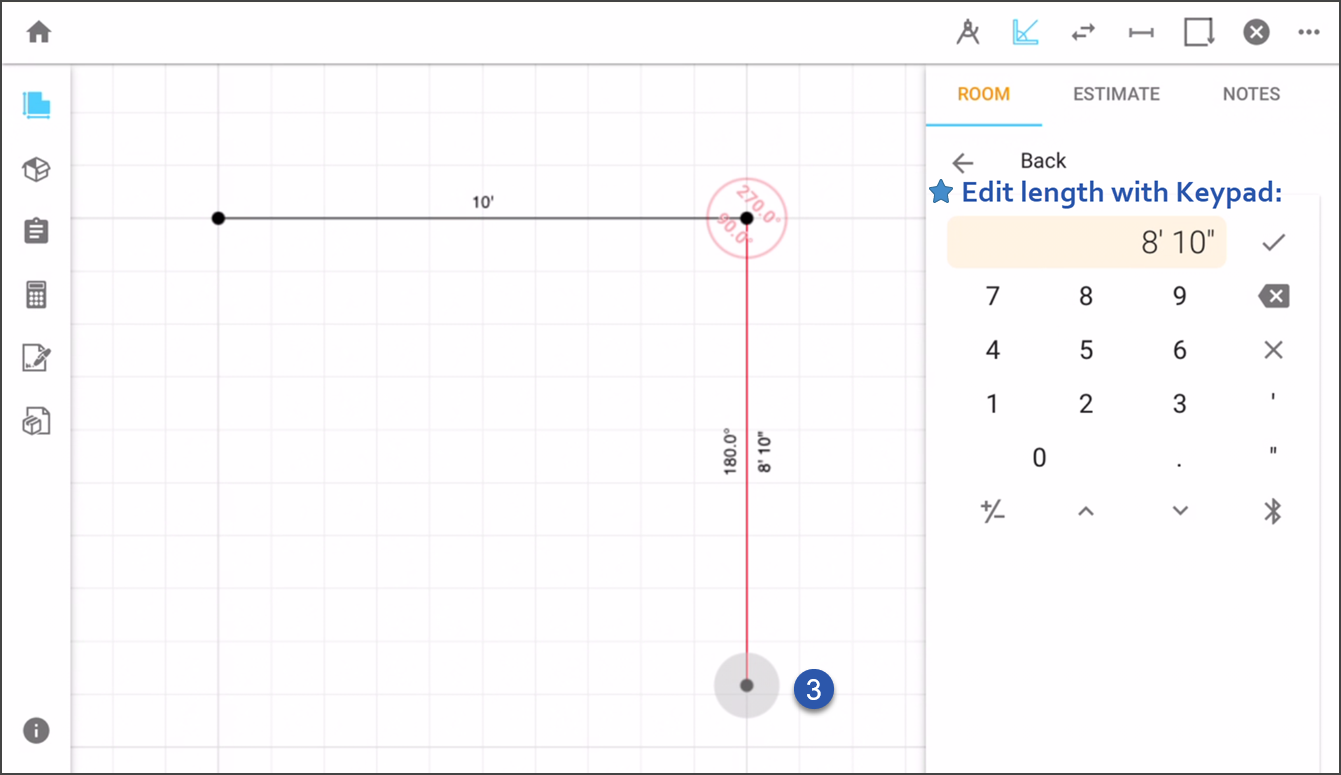
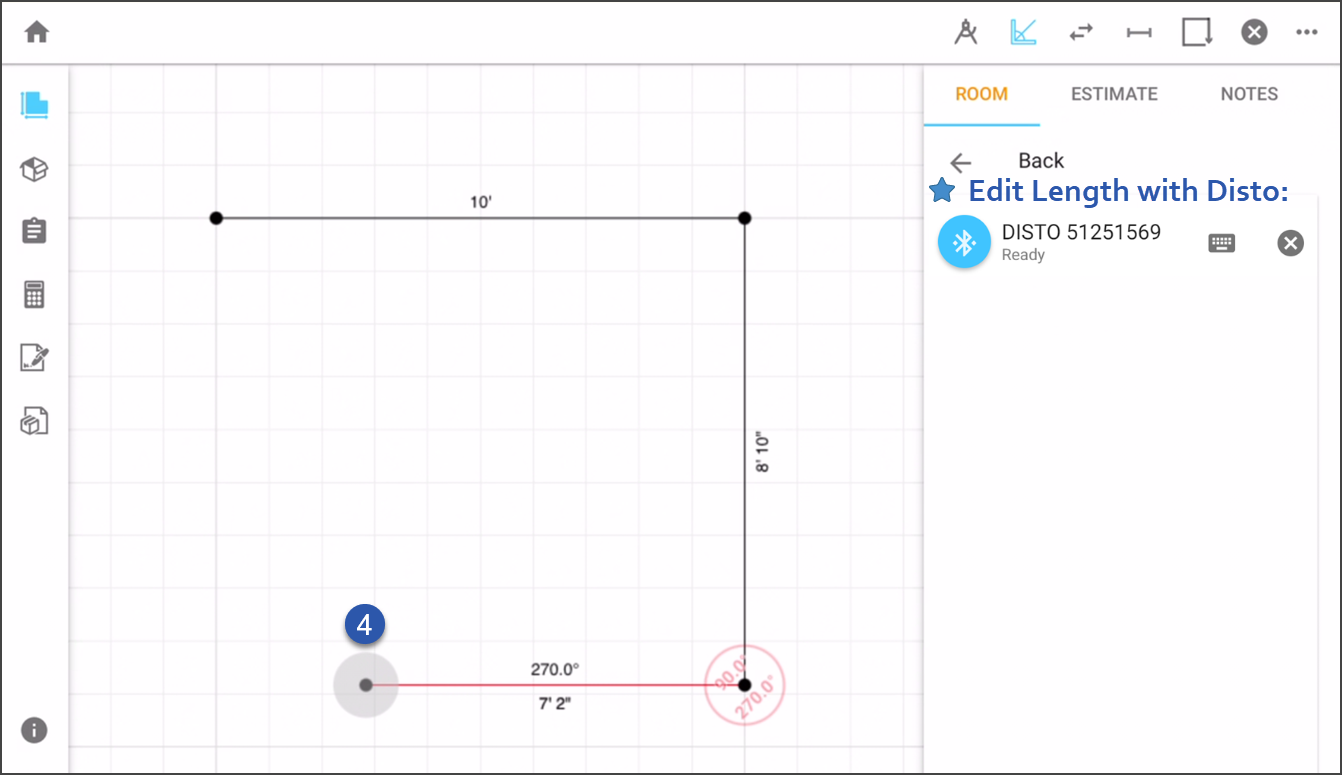
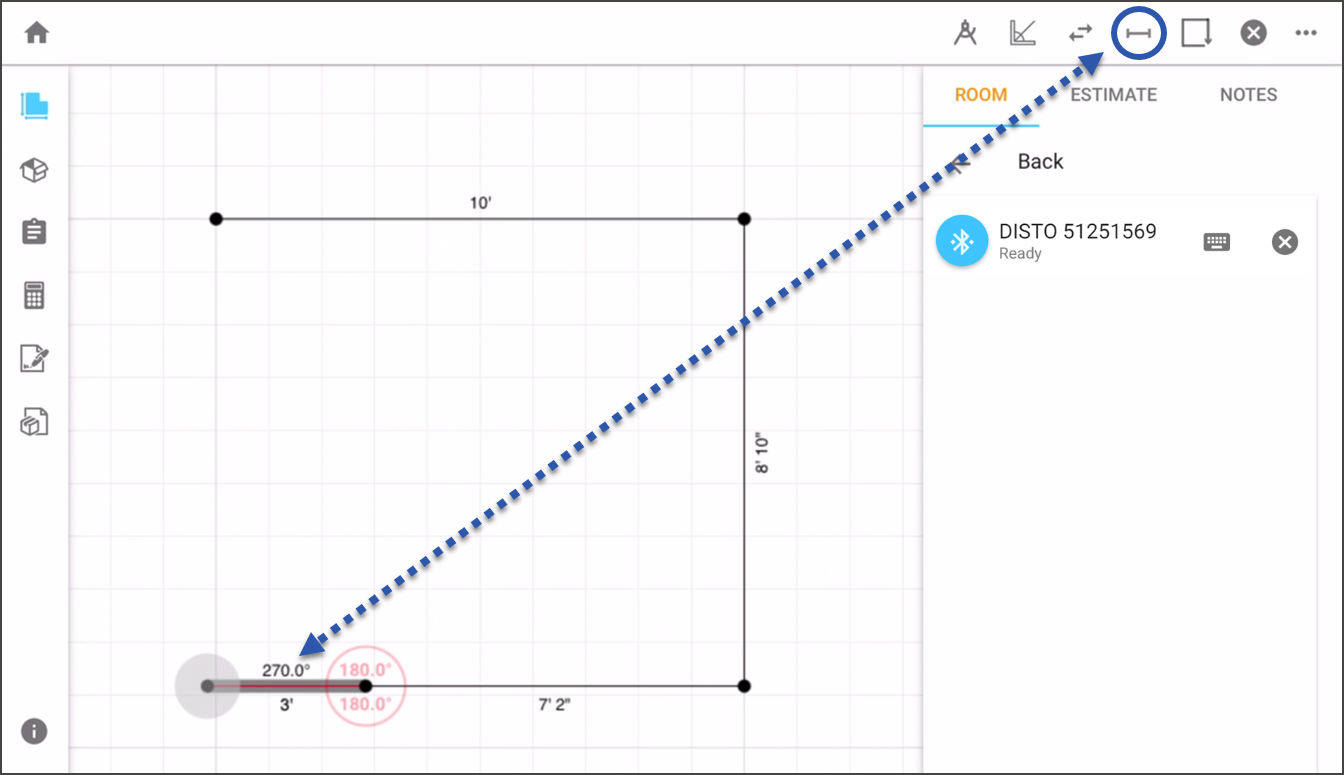
The length of a side can also be adjusted by using the Keypad or a Disto laser measuring device.
Tip: If you are creating a square or rectangular room, you can use the Close Room ![]() tool after drawing just two of the sides.
tool after drawing just two of the sides.
By default wall angles will snap to 45° increments. Toggle off angle snapping to gain precise control of wall angles.
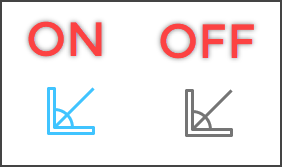
Tip: The angle snapping icon will appear blue when active. It is turned on by default.
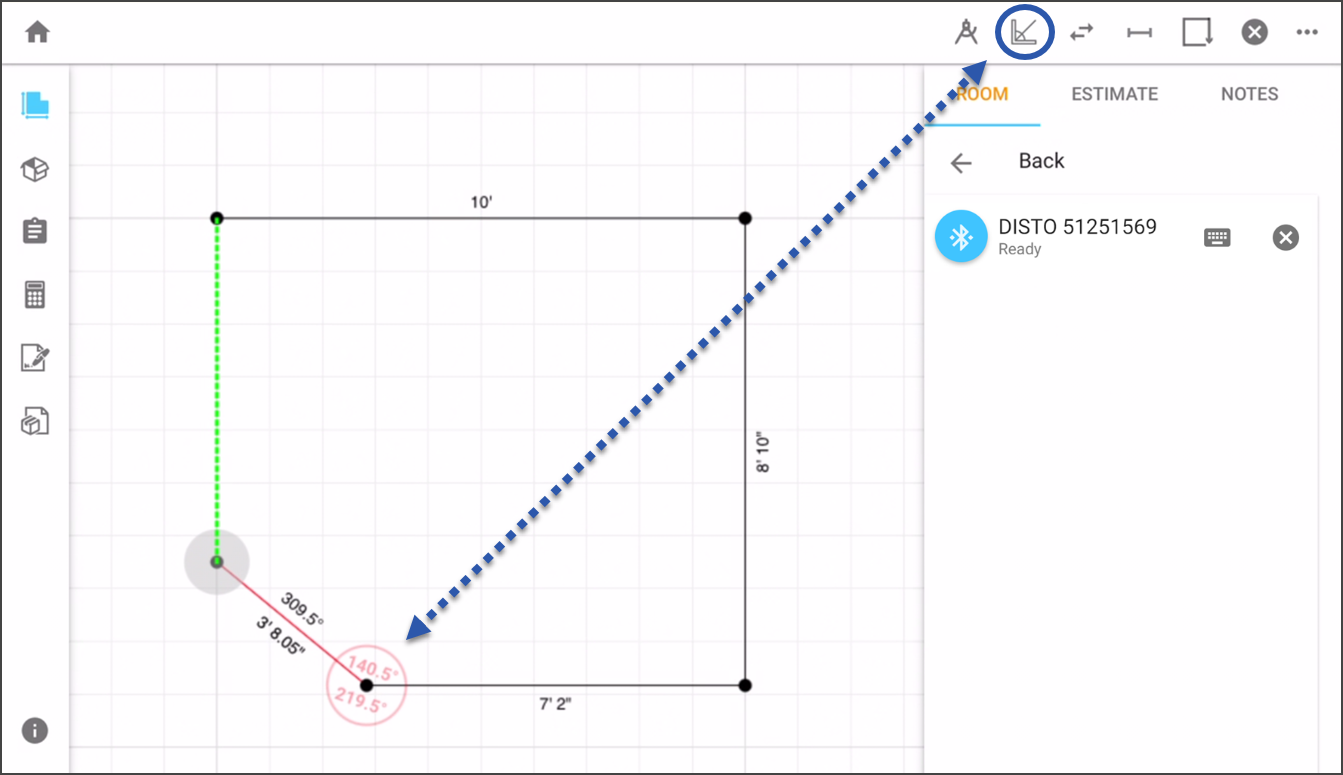
Tip: A dotted green line will appear to help line up the last wall of a room.
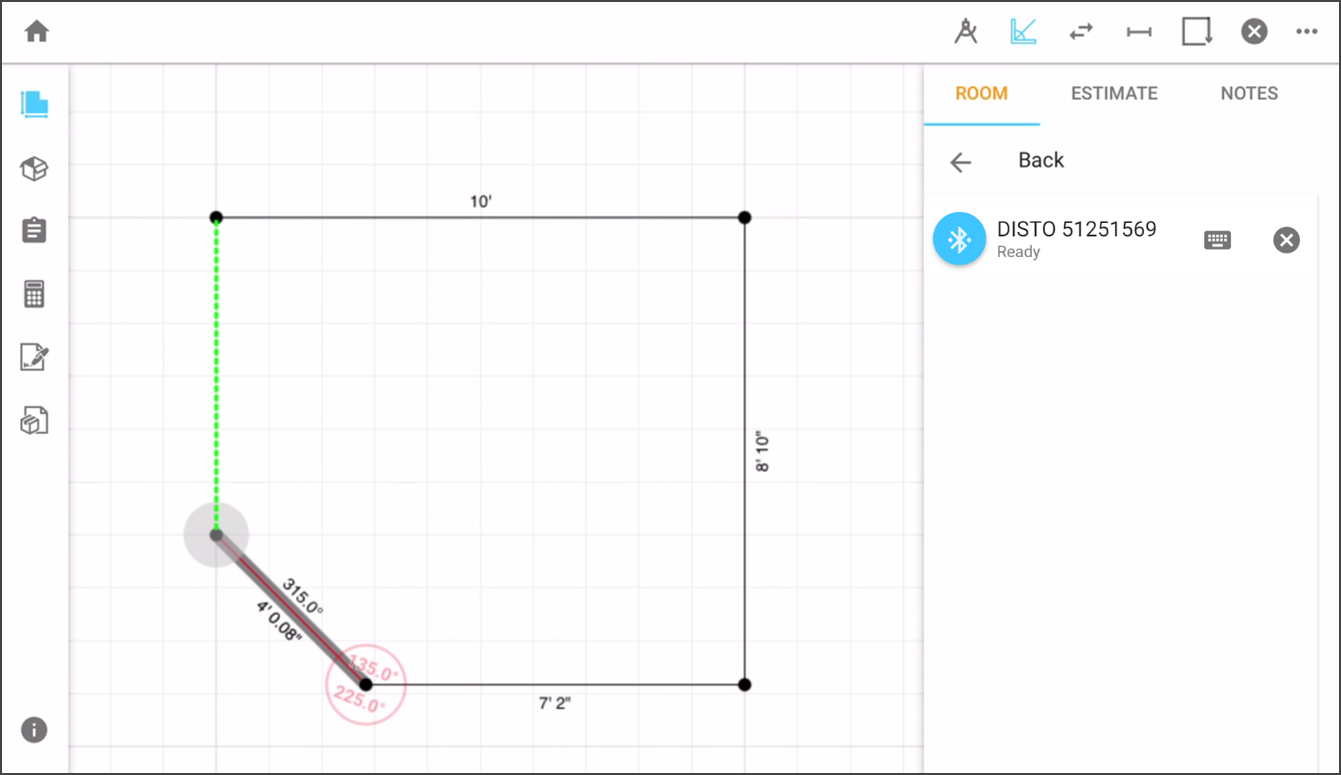
The angle finder helps to calculate the the unknown angle of a wall for higher accuracy.
1. Select the angle finder tool
2. Tap the corner opposite the selected point
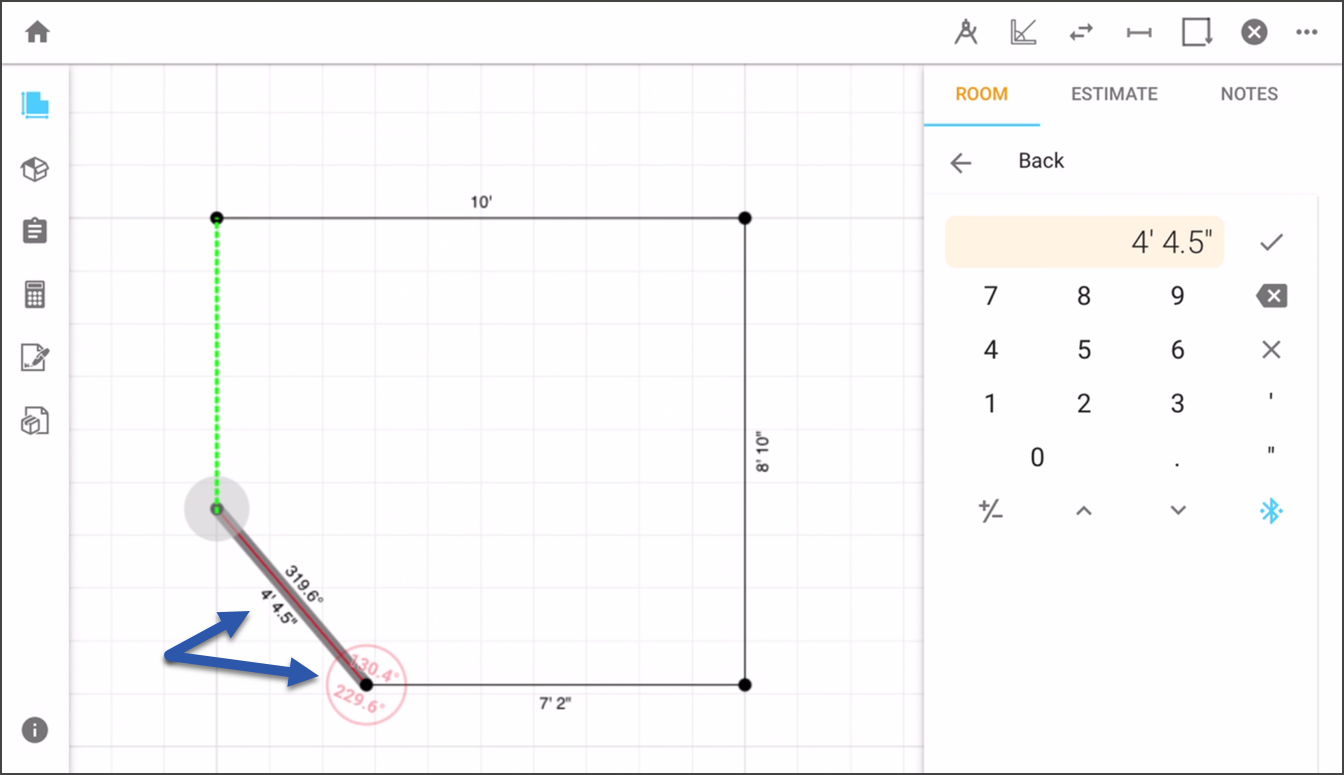
3. Use a Disto device to measure the exact distance from point to corner (you can also manually enter the distance using the keypad
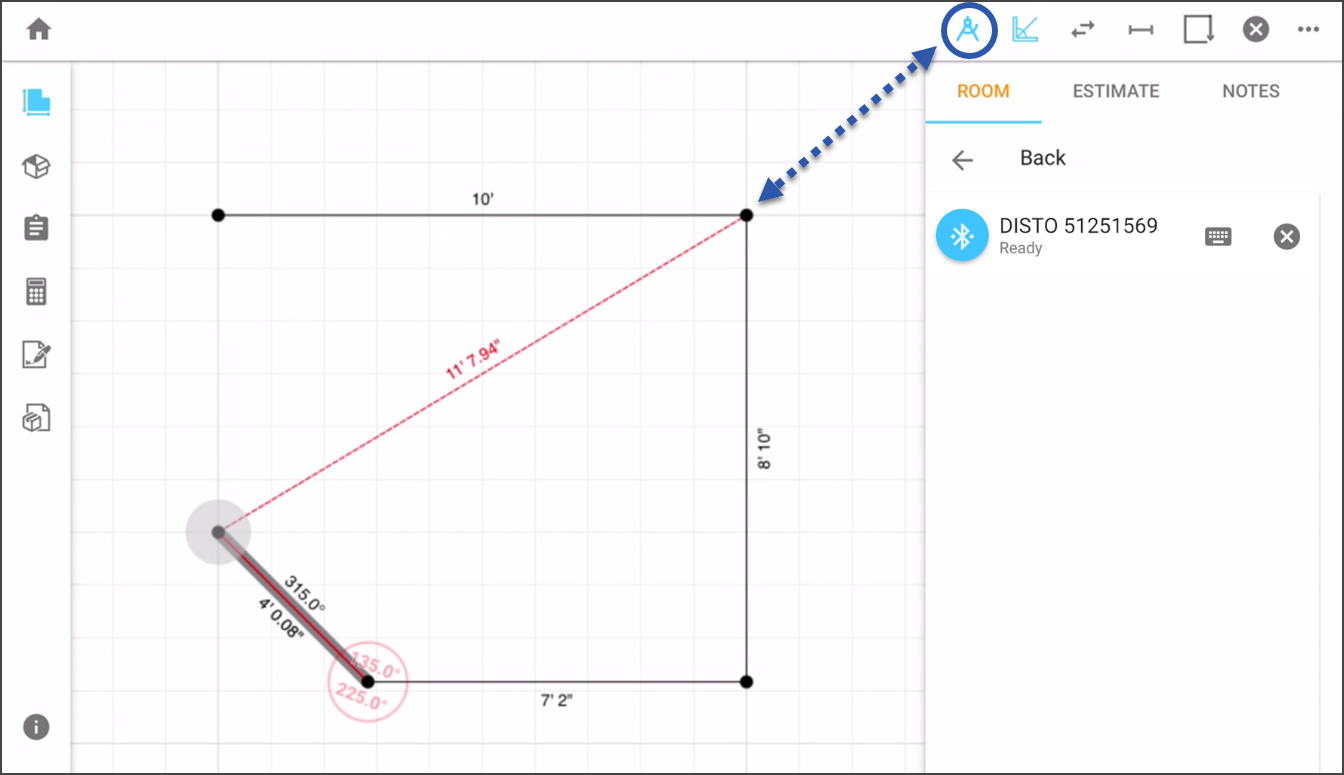
4. The angle and length of the wall segment will be adjusted automatically
Tapping the transition button will insert a transition in the same direction as the preceding wall. By default the length of a transition is 3 feet. After being placed, drag the highlighted point to manually change the length, use the Keypad, or use a Disto device.
The angle of a transition can also be adjusted. When angle snapping is turned on it will snap to 45° increments. Toggle off angle snapping to gain precise control.
1. Tap to place point along the side of an existing room.
2. Continue plotting points and editing lengths to draw the room. Use the Close Room tool, ![]() , to complete the room.
, to complete the room.

Comments
Please sign in to leave a comment.