Material areas allows you to have multiple flooring products in a single room. The shapes of these areas can be edited, they can be named separately from the room name, and can have perimeter product applied.
Video Tutorial
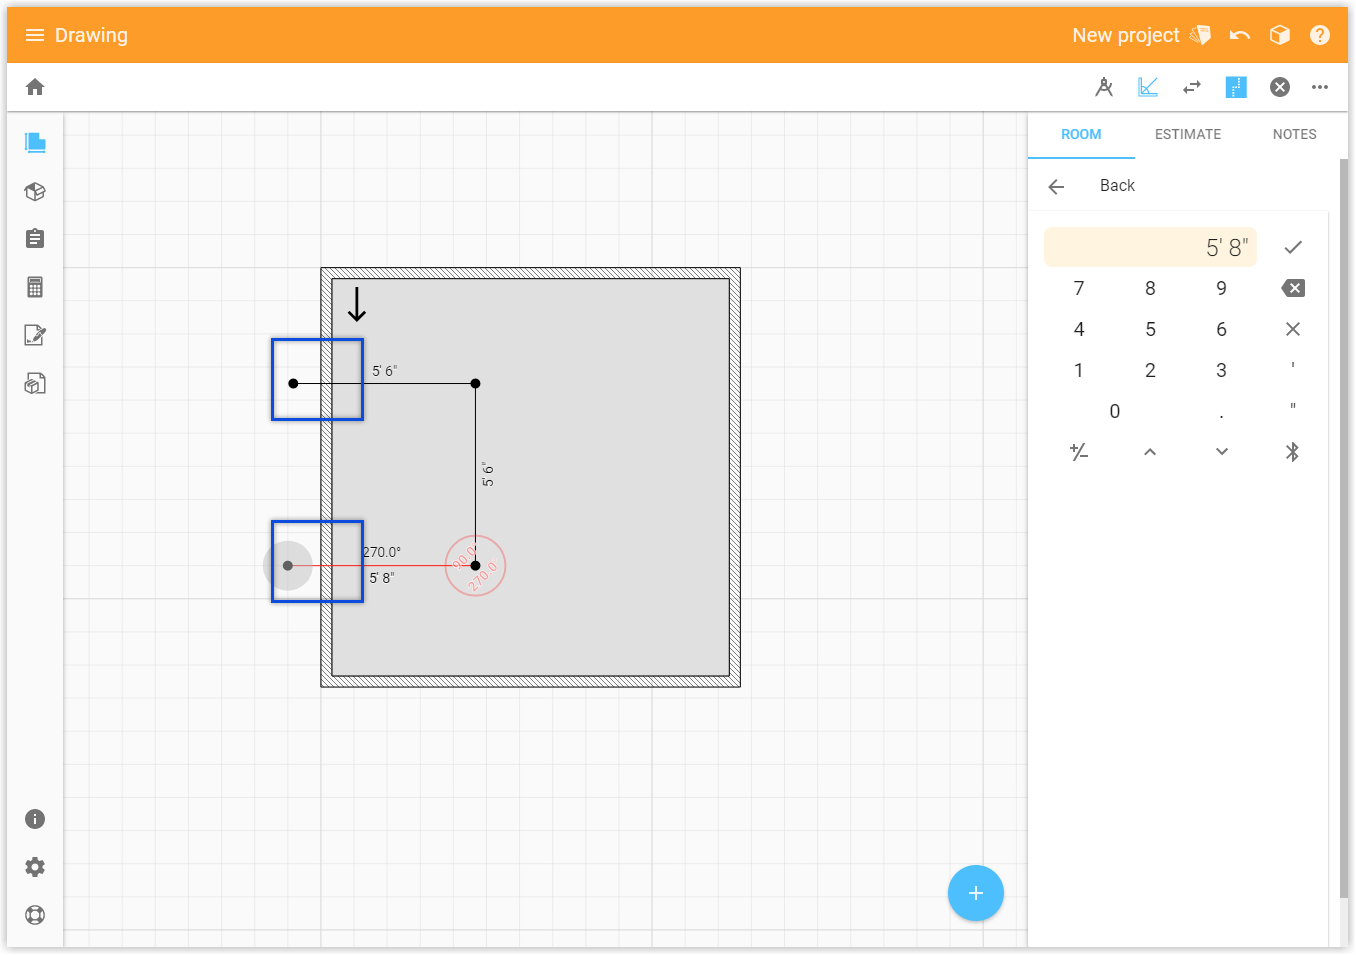
Create a Material Area
- Select a room
- Select the Material Area button,
 in the toolbar
 - Tap on different locations around the room to subdivide the area.
- Use the angle snapping,
 , and angle finder,
  , tools as to accurately draw the area.
Tip: Angle Snapping is automatically turned on by defualt. - Make sure that the first and the last points extend beyond the room boundary, or the shape will not be complete.
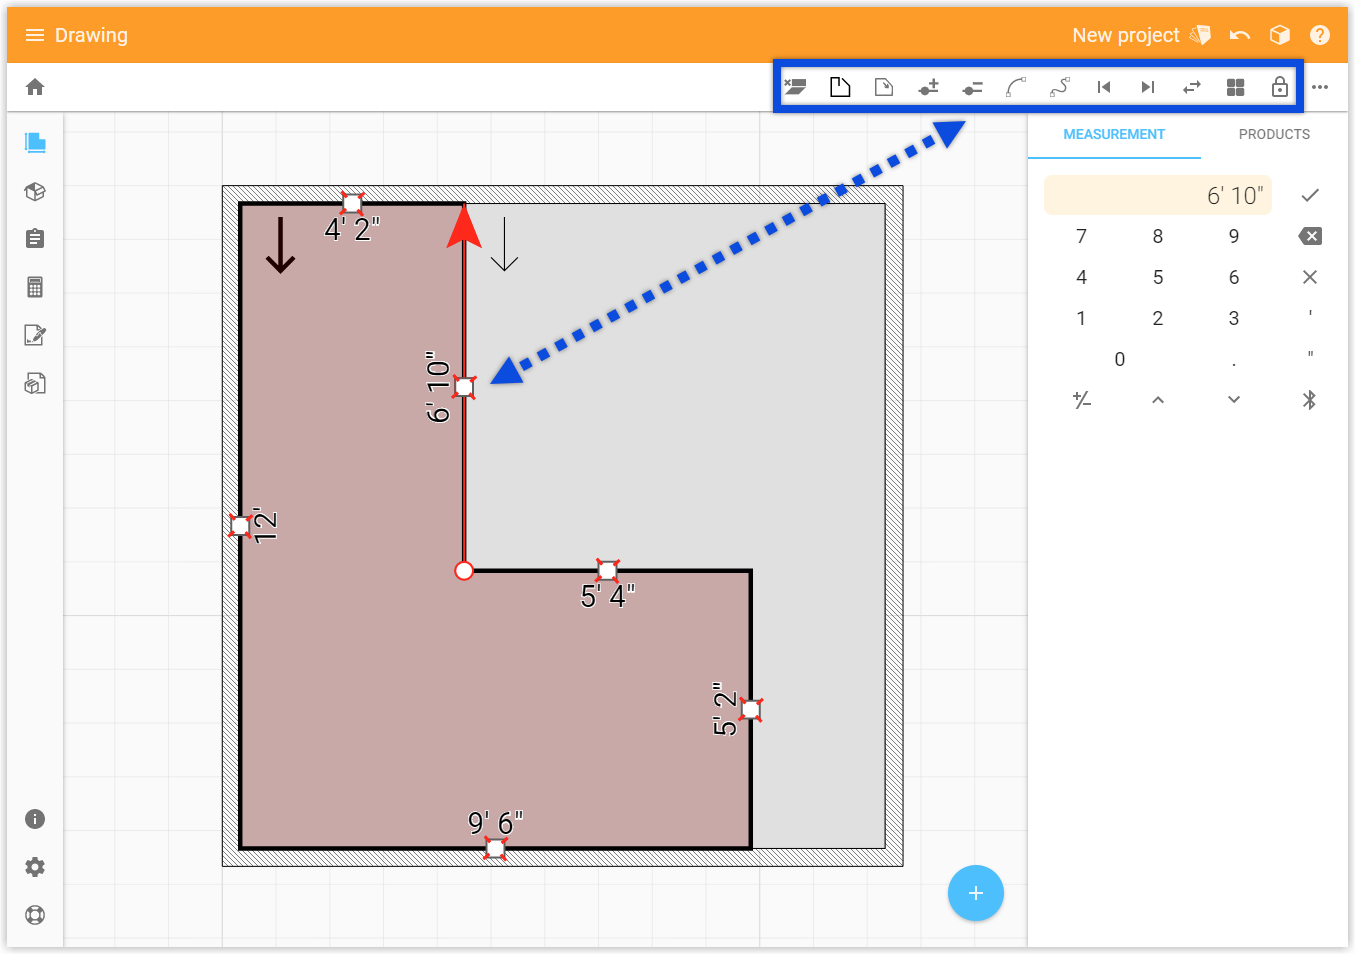
Editing Area Shapes
Material area shapes can be edited much the same as any other room shape.
- Drag handles to edit shape

- Select a side and use any of the tools in the toolbar to adjust the material area. For information on these tools please see the article How to Edit a Room.
Delete an Area
- Select a room, then select a material area. (You may need to tap twice.)
- In the toolbar select the trash can icon,
 , to delete.
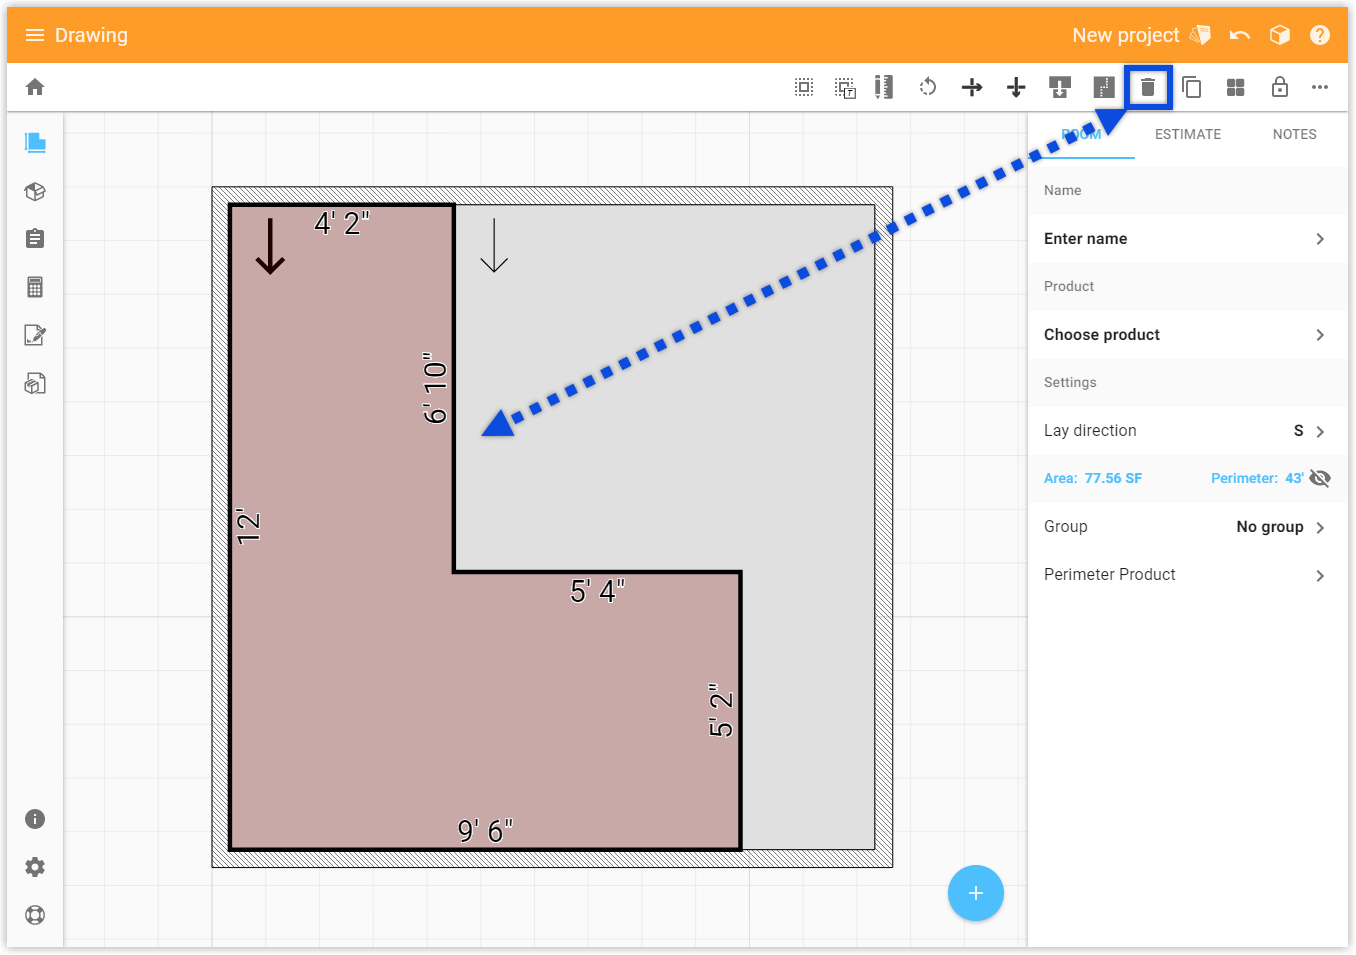
Apply Products to Material Area
Area Product
- Select the material area. (You may need to tap twice.)
- Under the Room tab tap Choose Product.
- Select from products already associated with the project, search your product database, or select from recently used.
- Optionally, choose to add a custom tile pattern by selecting the Custom Tile tool.
Perimeter Product
- Select the material area. (You may need to tap twice.)
- Under the Room tab select Perimeter Product.
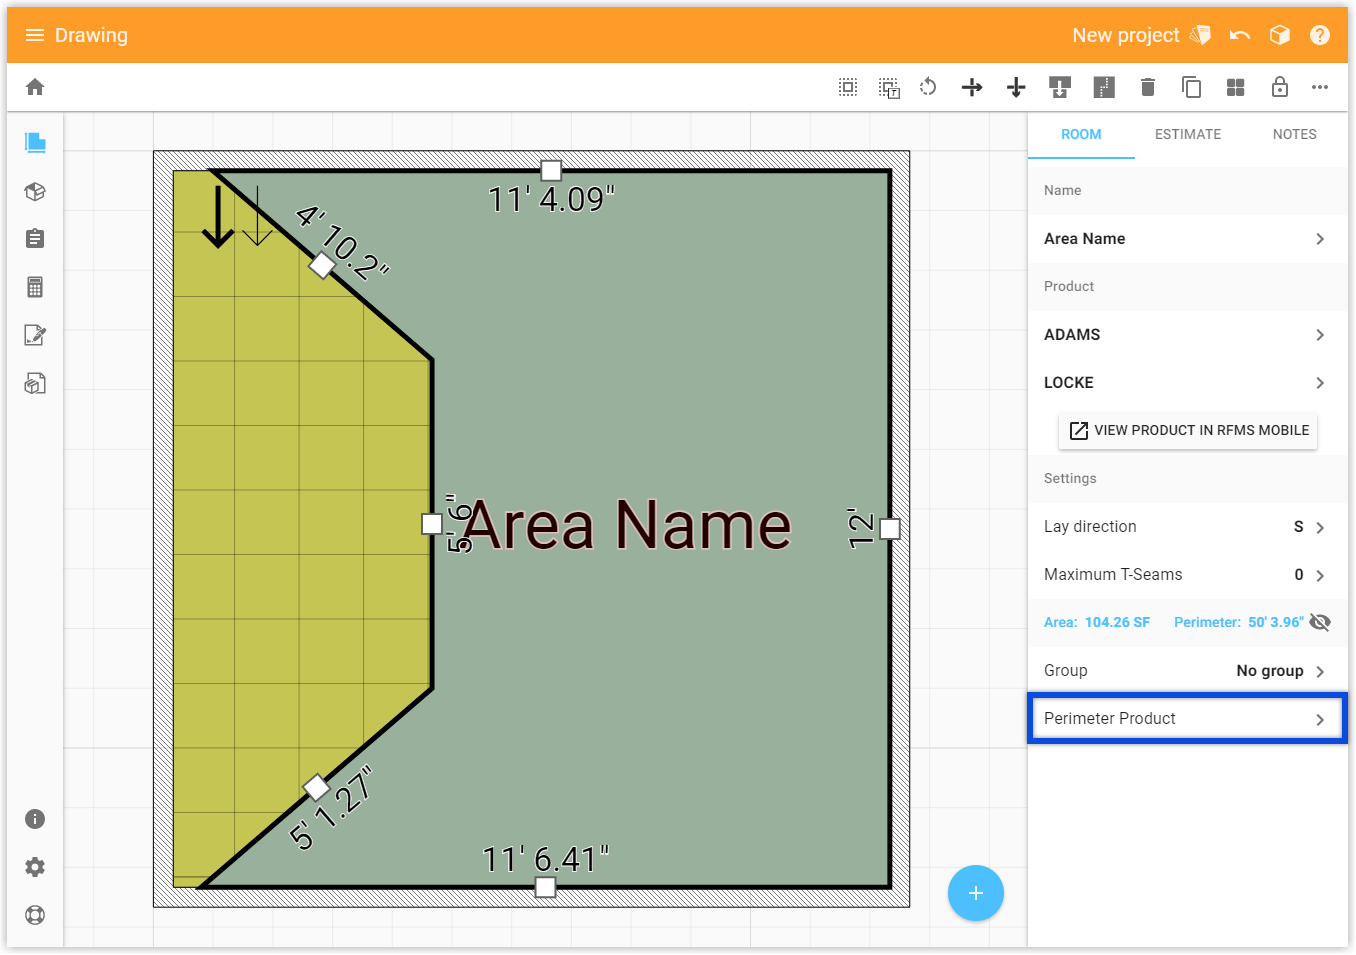
- Select from products already associated with the project, search your product database, or select from recently used.
To apply to perimeter product to only certain sides of the room:
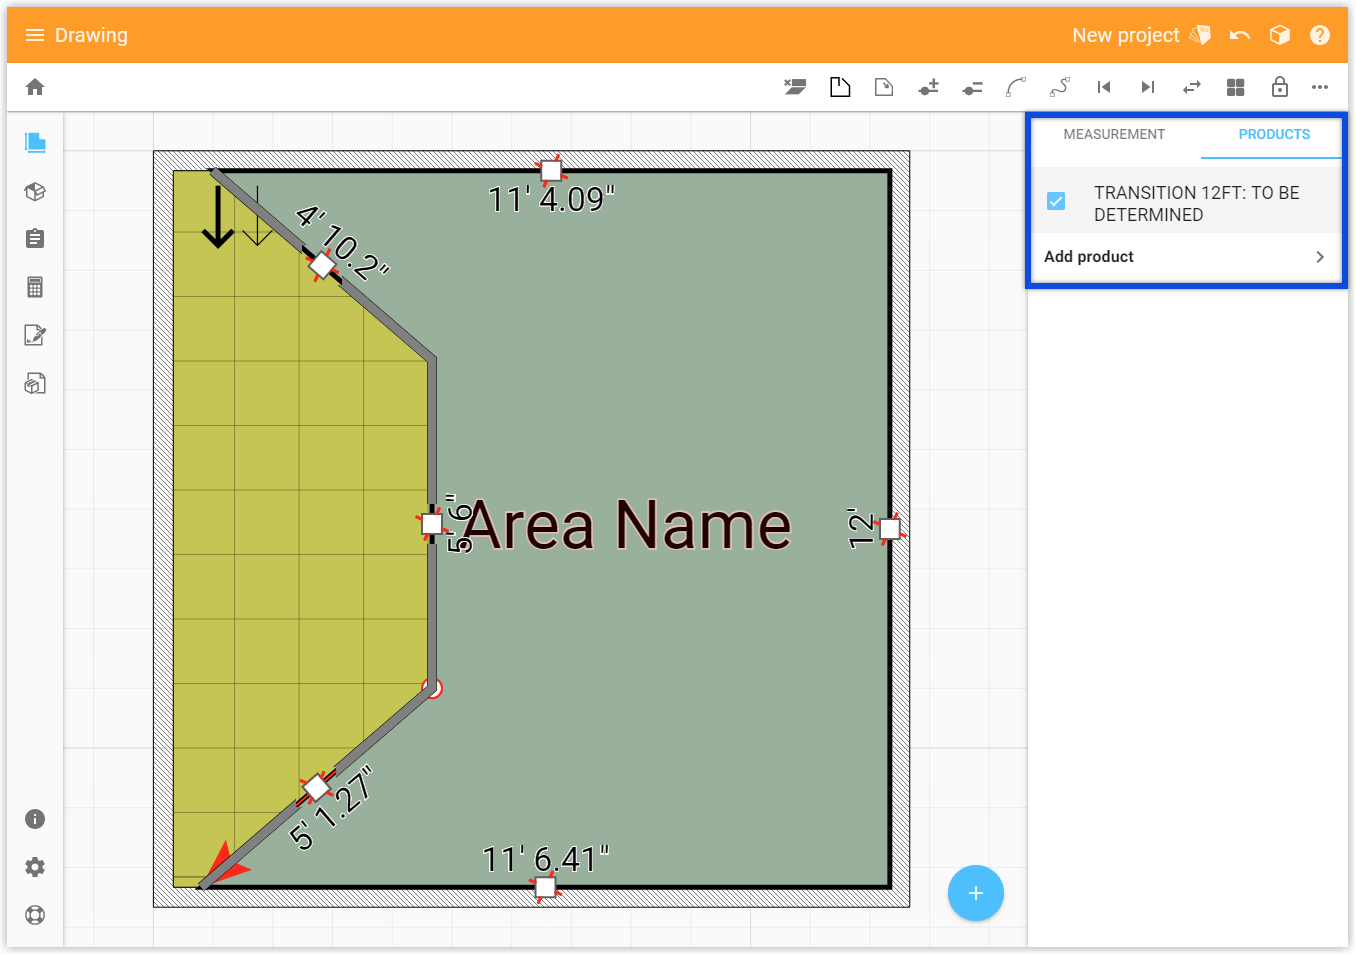
- Option One: Apply to entire perimeter, select the material area, tap the edit area button,
 , select the side you want to remove the product from, uncheck the product listed under the Products tab.
 - Option Two: Select material Area, tap the edit area button, , select the side that you want to add product to, switch to the Products tab, search your product database or check an existing product in the project.
Naming a Material Area
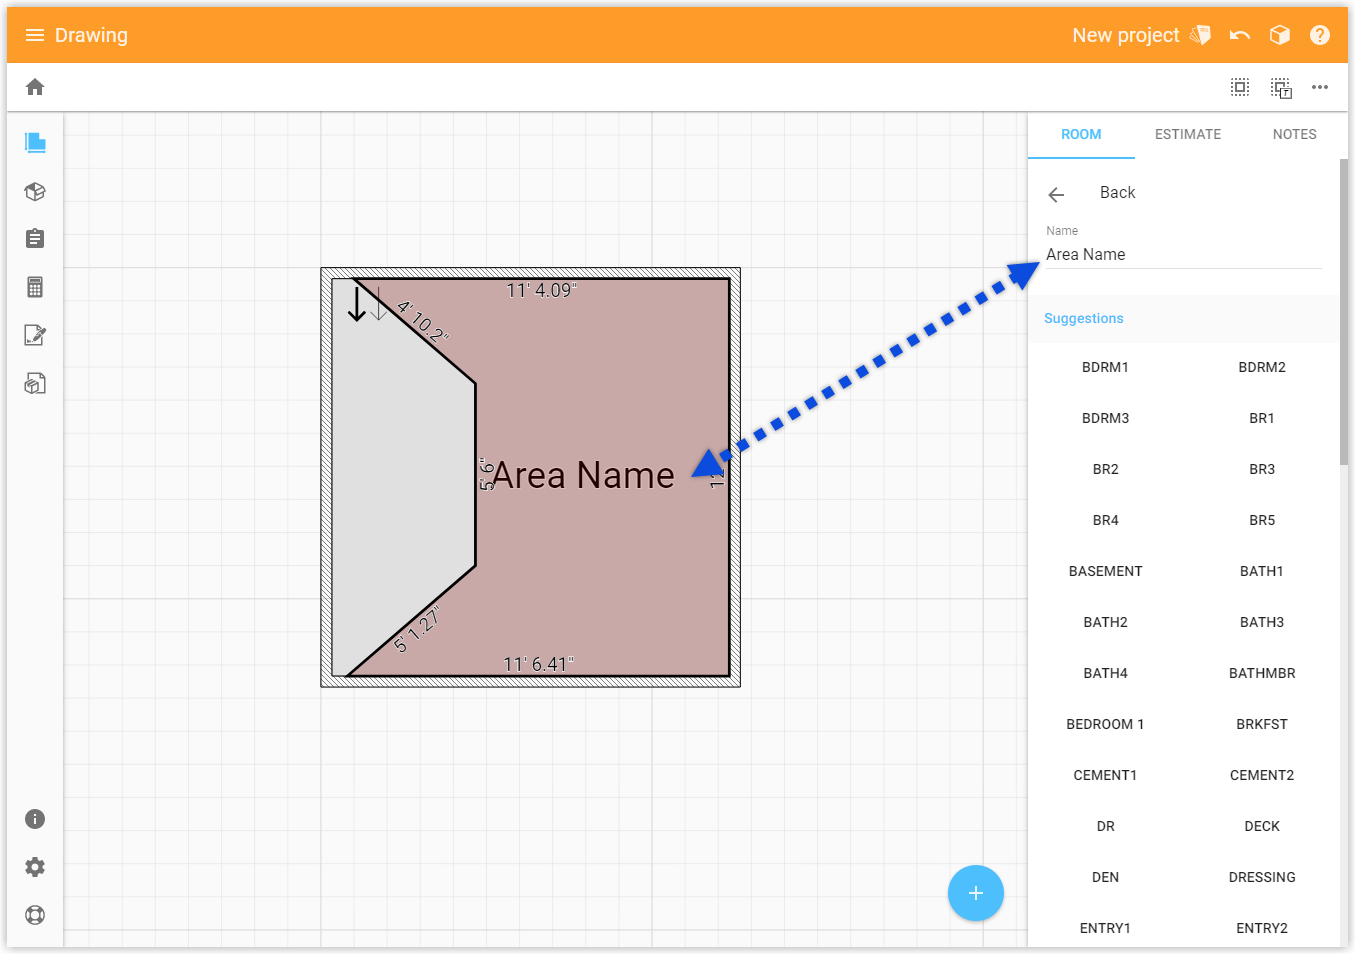
- Select the specific area that you want to name. (You may need to tap twice.)
- Under the Room tab tap Enter Name.
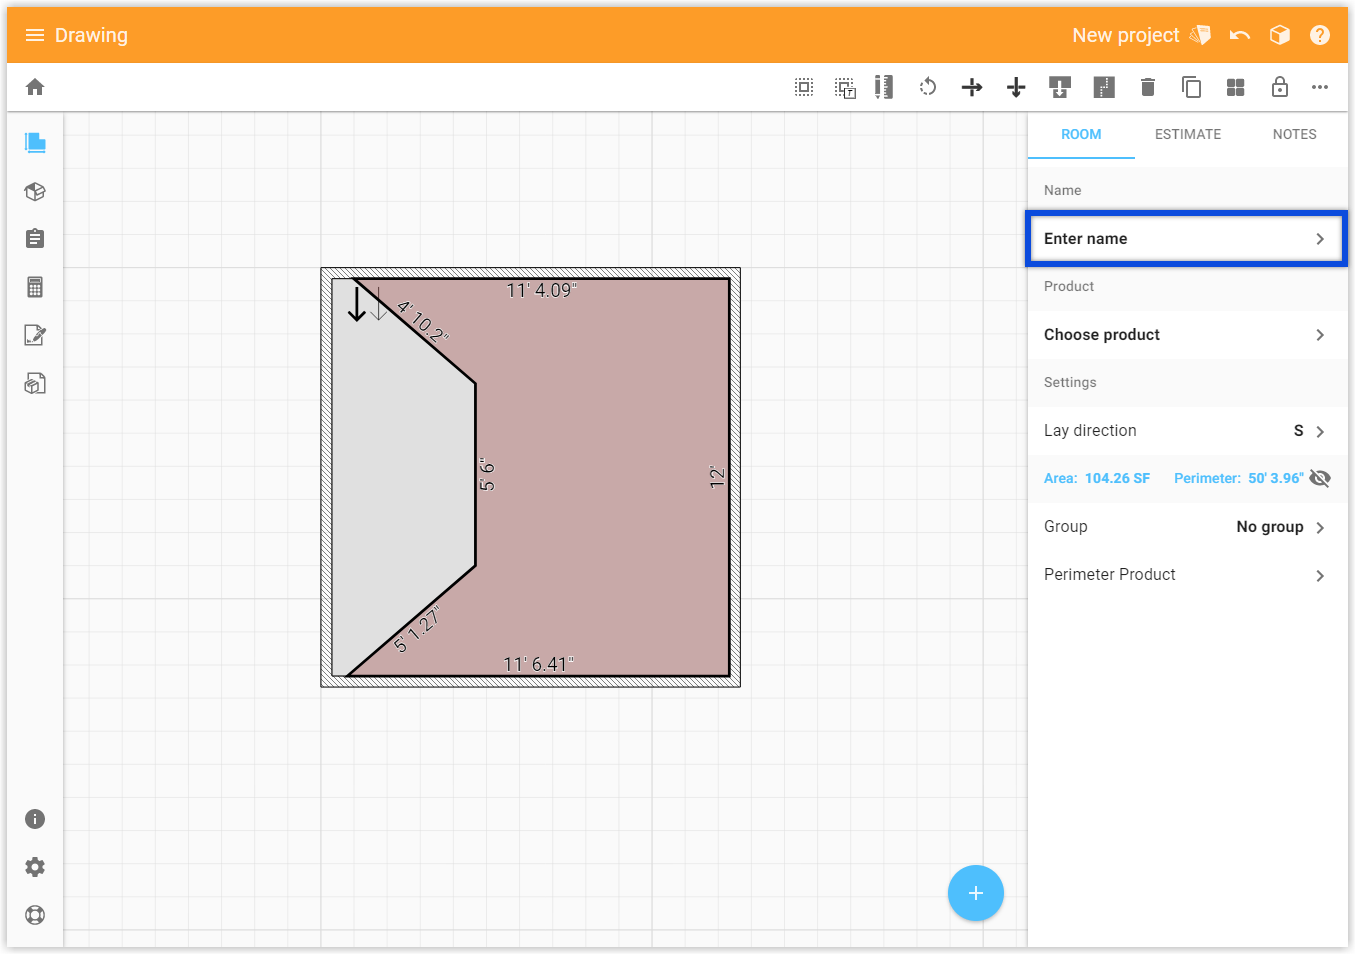
- Enter a customer name or choose from the default list
Comments
Please sign in to leave a comment.